This detailed guide on navigating the Acumatica UI (user interface) and compiled from various training resources from SWK Technologies will help show you to how to get the most out of each basic setting and features in your modern cloud ERP system. Leveraging the onboarding methodology of SWK’s own software consultants, the steps in this blog will comprehensively demonstrate how to view and take advantage of the various reports and functions native to your enterprise business management software.
Acumatica Login and Home Screen
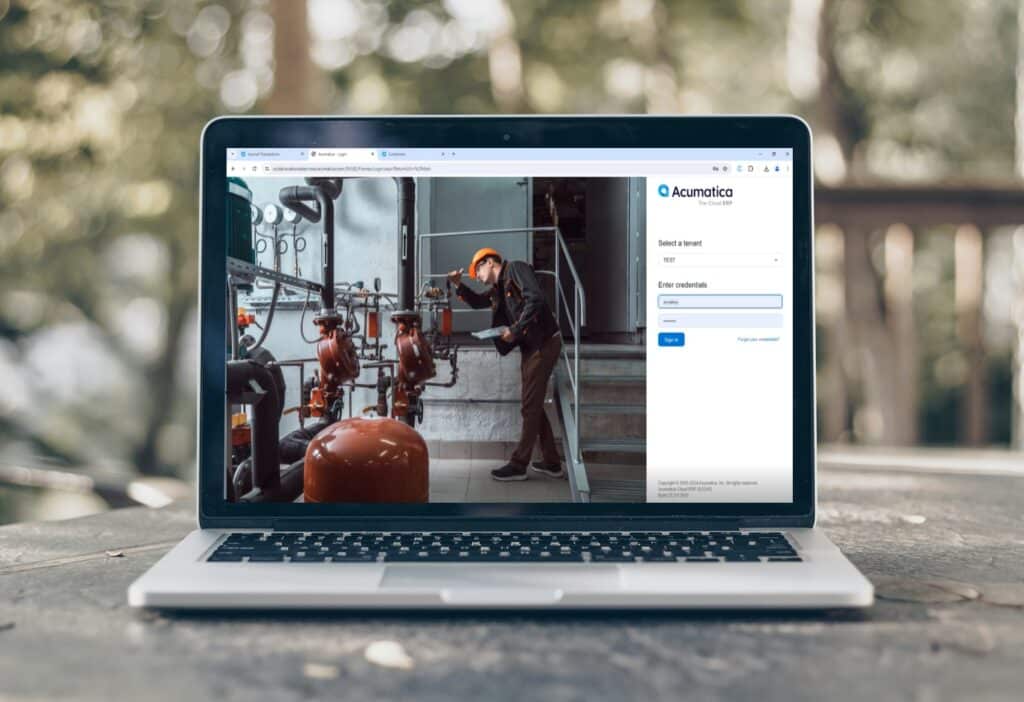
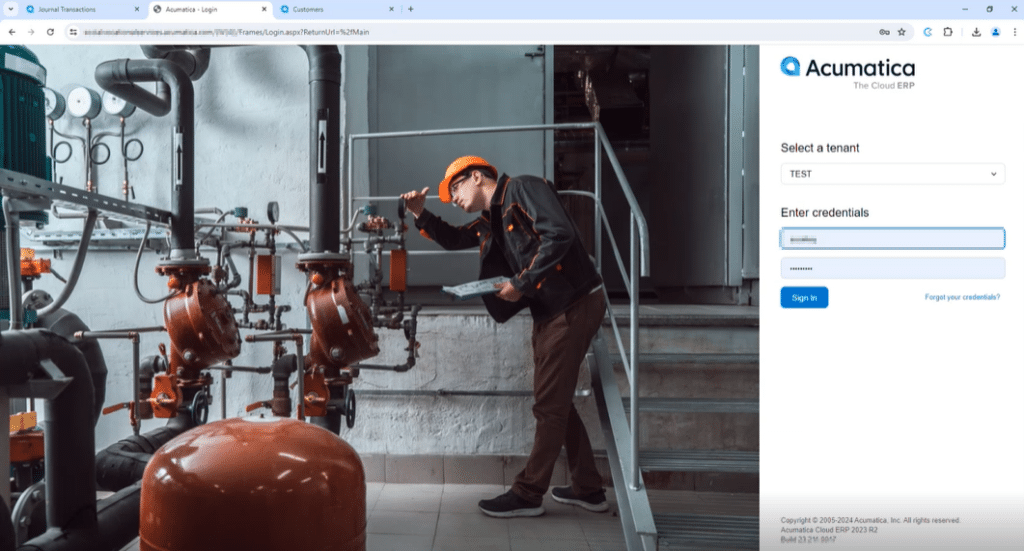
Acumatica Cloud ERP is accessible by users via a website browser such as Google Chrome or Apple Safari, and the login screen can be reached by entering its web address (URL) in the webpage bar. Users will enter their credentials here to log into their account; this screen can also be used to log into a specific tenant environment. For the purposes of onboarding new customers, SWK will always conduct training for end users in a test tenant instance first before the live production tenant will be accessed. The specific tenant you are using will also be reflected in the URL address displayed in your browser.
Once you have entered your account login credentials you will be taken to the home screen, which can be customized to display the information most relevant to your role and daily tasks. This may include dashboards with different key performance indicators (KPIs), recent activities, or quick links to other frequently used functions.
Navigation by Menu
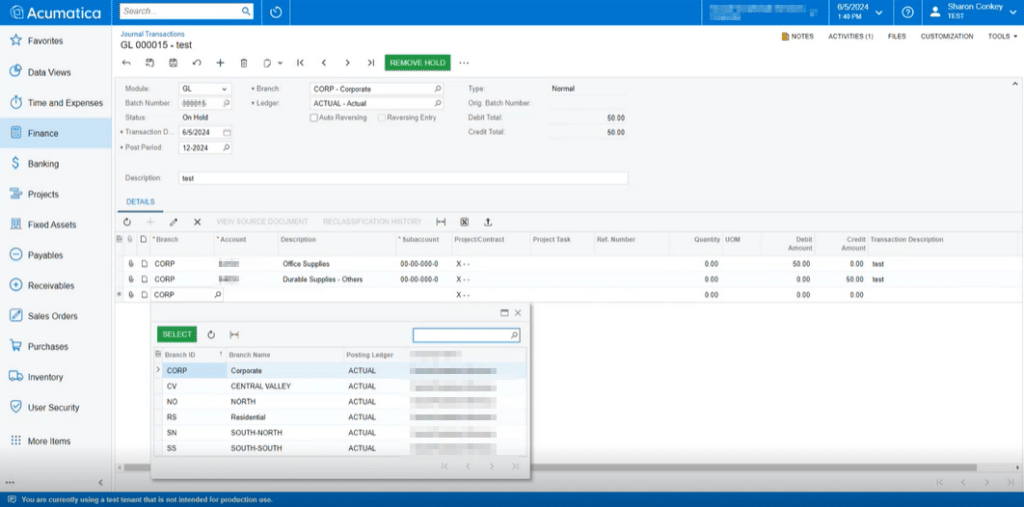
From nearly anywhere in your Acumatica Cloud ERP instance, you will find the main navigation bar at the top of the screen. This section generally includes:
- The Acumatica logo, which serves as a home button
- A universal search bar
- Recently viewed items
- Company/Branch selection dropdown
- Date control
- Help menu
- User profile and settings
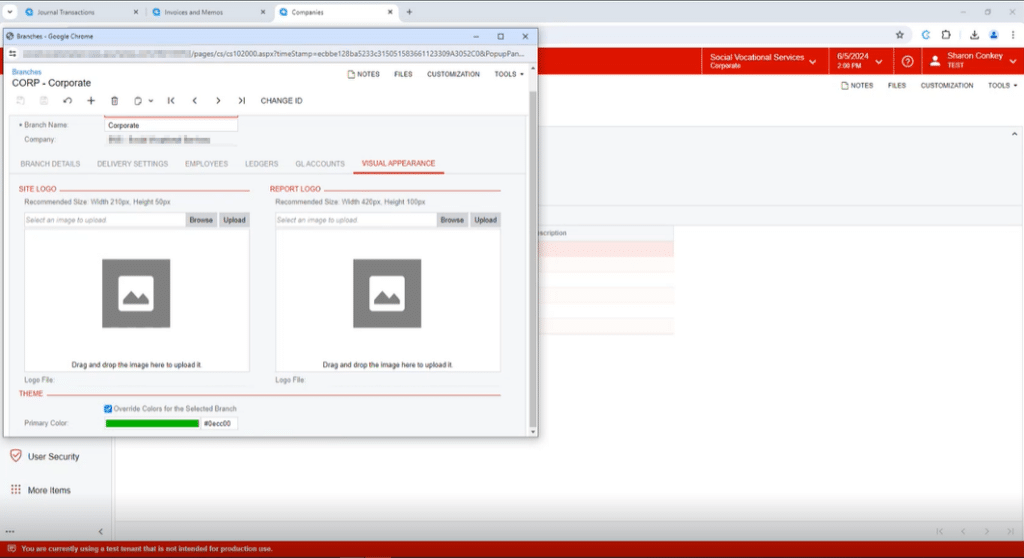
Many of the above items can be customized at your (i.e., admin user’s) discretion, such as the Acumatica logo which can be replaced with another image including your own company logo.
On the left side of the screen is the main menu, organized by modules such as Finance, Sales, Purchasing, and more. You can collapse the menu to provide more screen space for your current task. It is important to note that end user accounts can be tailored around each role, e.g., a controller can set up their home page with job-specific dashboards and function menus.
Your specific tenant environment can also be customized to various degrees. For organizations with multiple branches or entities, Acumatica offers the ability to include unique color schemes for each team. This will also be applied to test and production tenant instances by SWK Technologies, making it easier for users to identify which environment they are working in at a glance.

Search Functionality
To seek out specific menus, reports, other screens or even particular line items, you can go to the top of almost any screen and access the universal search bar. It allows you to search across various fields, including:
- Menu items
- Transactions and profiles
- Help topics
- Files and attachments
However, your searches will be regulated to menus or reports that contain any part of your search input in their name, meaning that you need to have an idea of the naming of the report, line item or menu you are trying to find. Thankfully, Acumatica will suggest matching results as you type and make it easier for you to navigate directly to the desired screen or record. For example, you can type in a keyword such as “bill” and every section for Bills or related transactions will show up on your screen, including Run Project Billing, Billing Rules, Tax Bills and Adjustments, Bills Pending Approval, etc.
Side Menu Navigation
If you view the lefthand side of most screens you will see a list of different menus, the majority of which represent different modules in Acumatica. On the bottom of this view is a tab labeled More Items, which holds any menus that could not immediately fit in the sidebar. You can add any of these to your lefthand side view by clicking on this tab, hovering over the menu icon and clicking on the Push Pin image that will appear.
A few additional notes on the sidebar view:
- Modules are organized logically
- You can pin frequently used items
- Add menus to Favorites for quick access
- Collapse the sidebar menu to increase screen real estate at any time
Reporting and Analytics
Acumatica offers a range of reporting tools, allowing users to run reports based on specific parameters and filters.
Examples include:
- Standard reports can be accessed from relevant modules
- Custom reports can be created using the report designer or Generic Inquiries
- Report designs can be saved as templates for future use
- Reports can be exported as a PDF and viewed in a third-party program such as Adobe
- Reports can be exported as a spreadsheet and viewed in Microsoft Excel
- Drill-down functionality allows you to navigate from summary data to underlying transactions
- Create pivot tables and apply filters to narrow down information by branch or module
Transaction Management and Navigation
The platform supports various types of transactions, including Accounts Payable (AP) bills and journal entries, which can be easily accessed and edited. Acumatica organizes transactions into list fields, which continuously grow as new entries are added. Transactions such as journal entries or sales orders can progress through various statuses (e.g., “On Hold,” “Balanced,” “Released”) based on approval stages. If a required field is missing or incorrect, the system will display a red error message.

Personalization and Customization of Acumatica Menus
Acumatica Cloud ERP allows users to customize profile settings based on preferences or role-based requirements.
Here are a few initial customizations you can make after logging in:
- Click on your username in the top-right corner
- Set your time zone for accurate date/time information
- Choose a default branch if you work primarily with one location
- Select your preferred homepage dashboard
- Customize the quick menu to include your most-used functions
- Create and modify dashboards to display the information most relevant to your role
Filters and Custom Filters
Acumatica’s filtering capabilities allow users to narrow down transaction lists based on criteria such as the module or transaction type. Users can apply quick filters to view only specific modules, like the General Ledger (GL) or Accounts Receivable (AR), or they can remove these filters to see all data. These filters can be shared across the organization or set as personal defaults.
Adding Notes, Attachments, and Activities
You can attach notes or activities to reports, such as emails or phone calls. For example, if a specific journal entry requires an explanation, users can attach a note explaining the reason for the entry. Files can also be attached to transactions, such as scanned receipt or a supporting document, as well as uploaded and linked directly within the system.
Multi-Tab Navigation
One of Acumatica’s most useful features is the ability to open multiple screens in separate tabs or windows. Users can easily switch between different modules or tasks without losing their place. For example, a user can work on a customer’s record in one tab while reviewing a financial report in another.
- Open screens in new tabs to work on multiple tasks
- Use new windows for side-by-side comparisons
Exporting and Importing Data via Excel
Users can export transaction lists to Excel for reconciliation or further examination. This feature is particularly useful for accountants who need to work with large data sets outside of the system. Additionally, you can import data from a spreadsheet uploaded, which will populate appropriate fields in your ERP.
Acumatica Mobile App Navigation
Acumatica’s mobile app brings the power of the ERP to your smartphone or tablet. The app mirrors the desktop experience, allowing you to access critical information and perform tasks on the go. Navigation on mobile devices is optimized for touch interfaces while maintaining consistency with the desktop version.
- Download the Acumatica mobile app on an iOS or Android device
- Use the app on your smartphone or tablet computer for on-the-go access
- Be aware of multi-device login limits set by your organization

Discover More Tips and Tricks for Acumatica Cloud ERP
SWK Technologies will help you get the most out of your ERP investment, leveraging our deep technological and industry knowledge as a top Acumatica VAR partner and Community resource. Check out some of our Acumatica videos and other educational resources, and reach out to us when you’re ready to learn more tips and tricks to maximize your value return on your software.
Contact SWK here to gain access to more Acumatica tips, tricks, updates, and tailored demos.
